All you Need is Love

All you Need is Love
Mother's Day 2013

Tuesday, June 22, 2010

Squandering Summer

I want to make sure that I don't squander our summer.
I'll take my kids outside and point out the little things.

We'll catch bugs and eat berries...


blow bubbles and play.


When you look around with a toddler, everything is amazing and new. Grab your camera and go capture the summer.
They'll be time in the autumn to
Scrap Happy!


These pictures were taken last week.
1. Moraine State park (overcast, great weather for pictures)
2. a dragonfly at Deer lakes park (I used the focus and took several)
3. A zoom is great for closeups. The kids don't even realize what you're doing!
4. our backyard in the evening light (focus on a spot they'll run through. Click when they are there.)
5. Deer lakes Park (be ready to catch the expression when they see a fish!)

Monday, June 14, 2010

Local Woman Scraps Seven Pages Last Night! (That would be me!)

Oh, how I love the beach! I ove scrapbooking the pictures, too. It almost feels like I'm there again! Here are some of my favorites of the pages I have recently completed. Above: One of our evenings in Ocean City, MD, will always find us at the marsh boardwalk. We always take a walk out to the end of the walkway. This time, we saw bunches and bunches of jellyfish in the water. Good thing we weren't swimming!
For this page, I had 3 photos. I used one of the storyboxes to mimic the boardwalk and it's cooresponding journaing block. I cut my photo of the jellyfish in order to place water on both sides of the boardwalk. I added some little dragonflies to complete the page.


Above: I love this page! One consistant thing in these 4 photos is the surf. So, using 2 shades of blue, one white and 2 layers of vellum, I attempted to recreate that. I used the Creative Memories tearing tool for the neat edge you see and simply layered them on the side of the page.
I tore a mat for my family photo and almost hated to cover up my carefully placed surf! I didn't want to add anything else to the page because I found it very calming.


Above: I have to say that we ate Ledo's Pizza twice on this trip. It was the first time we have tried it and we adored it! I had to make a page worthy of the pizza! I started with a page of blotchy yellow paper. I had already used a rectangle of it at another time, but I carefully cut the paper from behind my photos and pieced it all together. I then took a clean sponge and colored on a quarter size with a red CM marker. I dabbed it on the yellow paper to look like sauce. It didn't work all that well, but I was satisfied. For the peperoni, I took my bubble punch to a piece of cranberry red paper. Then I punched out circles of the holey paper. I punched out the same size circles for the darker red paper that I put behind it. I only made 6 pieces of pepperoni, but cut several in half to make them go farther! Half of them would have been behind the pics anyway! I freehand cut the title and then stuck a clear "Love" sticker on top of it. See details below.

Below: I always do a page entitled, "Out and About" of our vacation to the beach. This time, I changed the title to Inland. I used paper and stickers form the CM Surfer girl pack, and put the orange letter stickers of my title UNDER the clear sticker. I'll journal in the space under the title at a later time. I always leave room for journaling and do it a different day.

This is a 2 page spread. I used the same paper, just in a smaller touch on this facing page. To decorate, I used the stickers that matched the paper again. The Surfer Girl pack comes with stickers, title stickers and lots of paper of 2 different sizes. (12x12 and big enough to mat 4x6 photos) Since everything goes together, I find it's a big timesaver. I like that, and I like when everything matches perfectly. The hibiscus in the corner was cut out of one of the papers from the surfer girl pack. Actually, see the pink paper I matted the picture of my 2 adorable children with? I cut it from this pink piece of paper. It was a design on the back of the pink side and you can't tell it's missing since the hole it made is underneath the picture!

Now that school is over, I can use naptimes as scrapbooking times! I love it! Once I get the urge to scrap, I'm inspired. Once I'm inspired, I don't want to stop! Last night, I fell asleep early on the couch and woke up 2 hours later ready to go! So, I scrapped the night away, polishing off 7 pages that I loved! I finally finished our beach vacation from last year. Very enjoyable!

Wednesday, May 26, 2010

Beach Layouts 2

Blogger is weird. I can't figure out why it decides that some pictures need to be turned that don't, but I don't have time to spend on it. My son's nap time is a precious commodity! I will not waste it! Here are some of the beach pages I've been working on. For page #1, I used stickers to make a border. I also matted a clear title sticker on paper and gave it some seahorse stickers.

Page #2: I liked how the blue bubble paper went with the kiddie pool and my daughter's bathing suit. I didn't like covering up all those bubbles, so I used vellum to make some semi clear bubbles and a journalling block. I took the bubble theme one step further by cutting out several bubbles from the paper and decorating my daughter's close up with it. I actually did this because I used a piece of paper to mat her close up that I had previously punched holes in for a page I did last year! I needed to cover up the holes in the green paper, so I did that with bubbles. I loved how the green matched the piping on her bathing suit. *sigh* It makes me happy when everything goes together!


Page #3: Because I had 3 vertical photos, I had to make them look OK with the page. I double matted the photo of my kids and made a photo border for the page with 2 strips of orange paper. I cut the sunshine from a sheet of paper and made it a "setting sun". I found the title sticker and excitedly put it right on top of the sun. It matched perfectly! Sweet!


I made this title by using the oval cutter to make the purple background, dotting it's border with a pen, putting a clear title sticker on it, and adding a flower sticker and a paper flower. I punched out little hearts with a punch and bordered them with the pen. I then layered them and cut out a bit of yellow paper for the center.


I was excited about page #4! Mimicking the pool, I made a pool of my own to journal on. The beach ball is a sticker. I almost always mat the photos I want people to notice. Especially with that cute pool on the page, I felt I had to make my fave pics stand out!
I don't know about you, but I'm ready to go to the beach!
Scrap Happy!


Friday, May 21, 2010

Beach Layouts

I know it might be a little early for beach pictures, but I am this far behind in my daughter's album, and this is what I'm working on now. So be prepared for more layouts over the next few weeks. Catch a Wave! This page has room for journaling which I'll add later. I used the paisley punch to imitate water droplets. I don't use the paisley punch very often, as it's hard to know what to do with it sometimes!


To the Beach! This is the opening page, which is always a big deal for me. I like to capture my kid's expression when they see the beach for the first time.

Fot this page, I chose to sepia the picture of my daughter looking down. I have no idea why I did this, I just knew it would look better. I also had the photo of her walking to the waves enlarged. I took a whole bunch of pictures and then chose my favorites. Of course I have another page from the same day, but it is only 2 photos. I wanted to have a lot of room to write the story of our getting to the beach.


My embellishments are actually modified Christmas stickers! I really wanted flip flops, but I wanted them to match my page. I also wanted them to have some texture, or look like they had some texture. These flip flops were easy enough to make. I cut the sticker below out because the bird didn't fit on the page where I wanted it when it was in a circle of blue. Using the left over blue, I made the flip flops. I folded the blue together and cut out the flip flop shape. Then I cut little slivers of yellow, stuck them on and folded the ends around the back. Ta Da! They are a little asian looking, but I loved them! Asian works for us anyway!
Here is a close up of the bird. I made the title by doing the outline in blue and filling in the inside with copper. The paper is from a jewel summer paper pack.


The second best thing to being at the beach, is scrapping about the beach!
Scrap happy!


Thursday, April 29, 2010

Personality Bears

This week marked the end of my youth group for this semester. We take a break for the summer. I have had so much fun with my small group of girls this year, and I wanted to give them something that they could hold onto for the summer. Something that would remind them that someone cares about them. I put a heart on each one to remind them to keep God in their hearts. I tried to make each bear a little different, complete with the personality of the girls. They were a huge hit and very loved right away.


This has nothing to do with scrapbooking, but just an idea of something you might be able to use in the future. I can't make an album for every kid who comes into my life for a season, but I can try to make sure that they feel loved, special and unique.

Scrap Happy!

Monday, April 19, 2010

Perspective

I had been scrapbooking some over the weekend, and then had stopped to organize a rolling cart I keep under my desk. I ended up piling things on my desk as I cleaned, and happened to glance at the mess. A photo of my daughter caught my eye. It looks like she just can't take the mess on my desk doesn't it?! I thought that was so funny that I had to share it.
It was great to work on my daughter's album. I am going to squeeze one more page into this one and I'll be done with her 21st album.

Here is a photo of my daughter and son having a snack. But that wasn't really what I was trying to take a picture of. It doesn't tell enough of the story. By my coming down a little, and making sure that the blanket shows a little in the photo, you can see that they are actually under a tent! Our living room has at least one child-constructed tent in it at a time lately.

I love that my girl isn't too big to play with her little brother. She waited and waited, wanting a sibling for so many years. Now she has one, and she appreciates having him. She helps him ride a tricycle, helped him learn to walk, keeps him off of the stairs, and taught him how to scream! That was one thing he didn't need to learn, in my opinion.


Scrap Happy!


Wednesday, April 14, 2010

Scavenger Hunt

It's spring! The kids are enjoying the nice weather and I am loving the brilliant colors of the flowers and scents of the trees as they blossom!
A tree God gave me, right by the deck. It just appeared in our yard one year and has grown into a beautiful sight.

I was actually just checking to see if my camera was still working since I had dropped it! That's why I took the pics without my kids in them.

I don't actually have any pictures of the scavenger hunt because I used a new memory card and my computer won't even work if it's in it! Weird!

I think it's important for parents and kids to have fun one on one. Especially if there are other siblings. I also like to do fun things for my daughter and I have a heart for kids her age. As she grows, I like each new age so much! This is why it might seem like I am always planning an activity, class or party. It seems like that because I am!

A few Sundays ago, I arranged a hunt for kids and parents. It was in my little town and the "hunters" had to be from here as well. It was only for specific 1st and 2nd graders, whom I invited.(My daughter's friends) The teams were 1 parent and one kiddo. We started the hunt at my house. I made a list of places or things to find. All of them were in town. The goal was to find as many of them as you could in 2 hours and take a picture of each place or item on the list. I also was specific sometimes, saying that certain things neede to be in the picture. One of the people on your team had to be in the picture, unless the rules made an exception. 2 of the pictures had to have both of your team members in it. You could earn bonus points for certain things, such as if you were eating a dessert in a certain photo.

It ended up being a rainy and chilly day. But I think that both the kids and their parents had a good time. Thankfully, I had a clear winner. The first team to check in had all of the pictures they needed, except one extra credit picture. They were at the finish line so much earlier than all the other teams, that when the rain let up, I encouraged them to go out and try to get that last picture, which they could get from my yard! They did, and it gave them the points they needed to be unbeatable! My husband and daughter came in 2nd. They couldn't find the elusive purple rock!

As teams came in, I went through their pictures on the digital cameras with my list beside me and made tally marks. It was fun to see the different things people had found, some were different than the one I had seen, but still correct!

This was an easy thing to put together. I just kept my eyes peeled for unusual things or things that might only be known by people who live here. Then I made a list on the computer, invited everyone by phone, and sent them on their way. I only wish I could have been there, too! I keep asking my daughter how they found this thing, or which one of you knew that it was in the window?

Scrap Happy!


Friday, April 09, 2010

Easter pics and tips

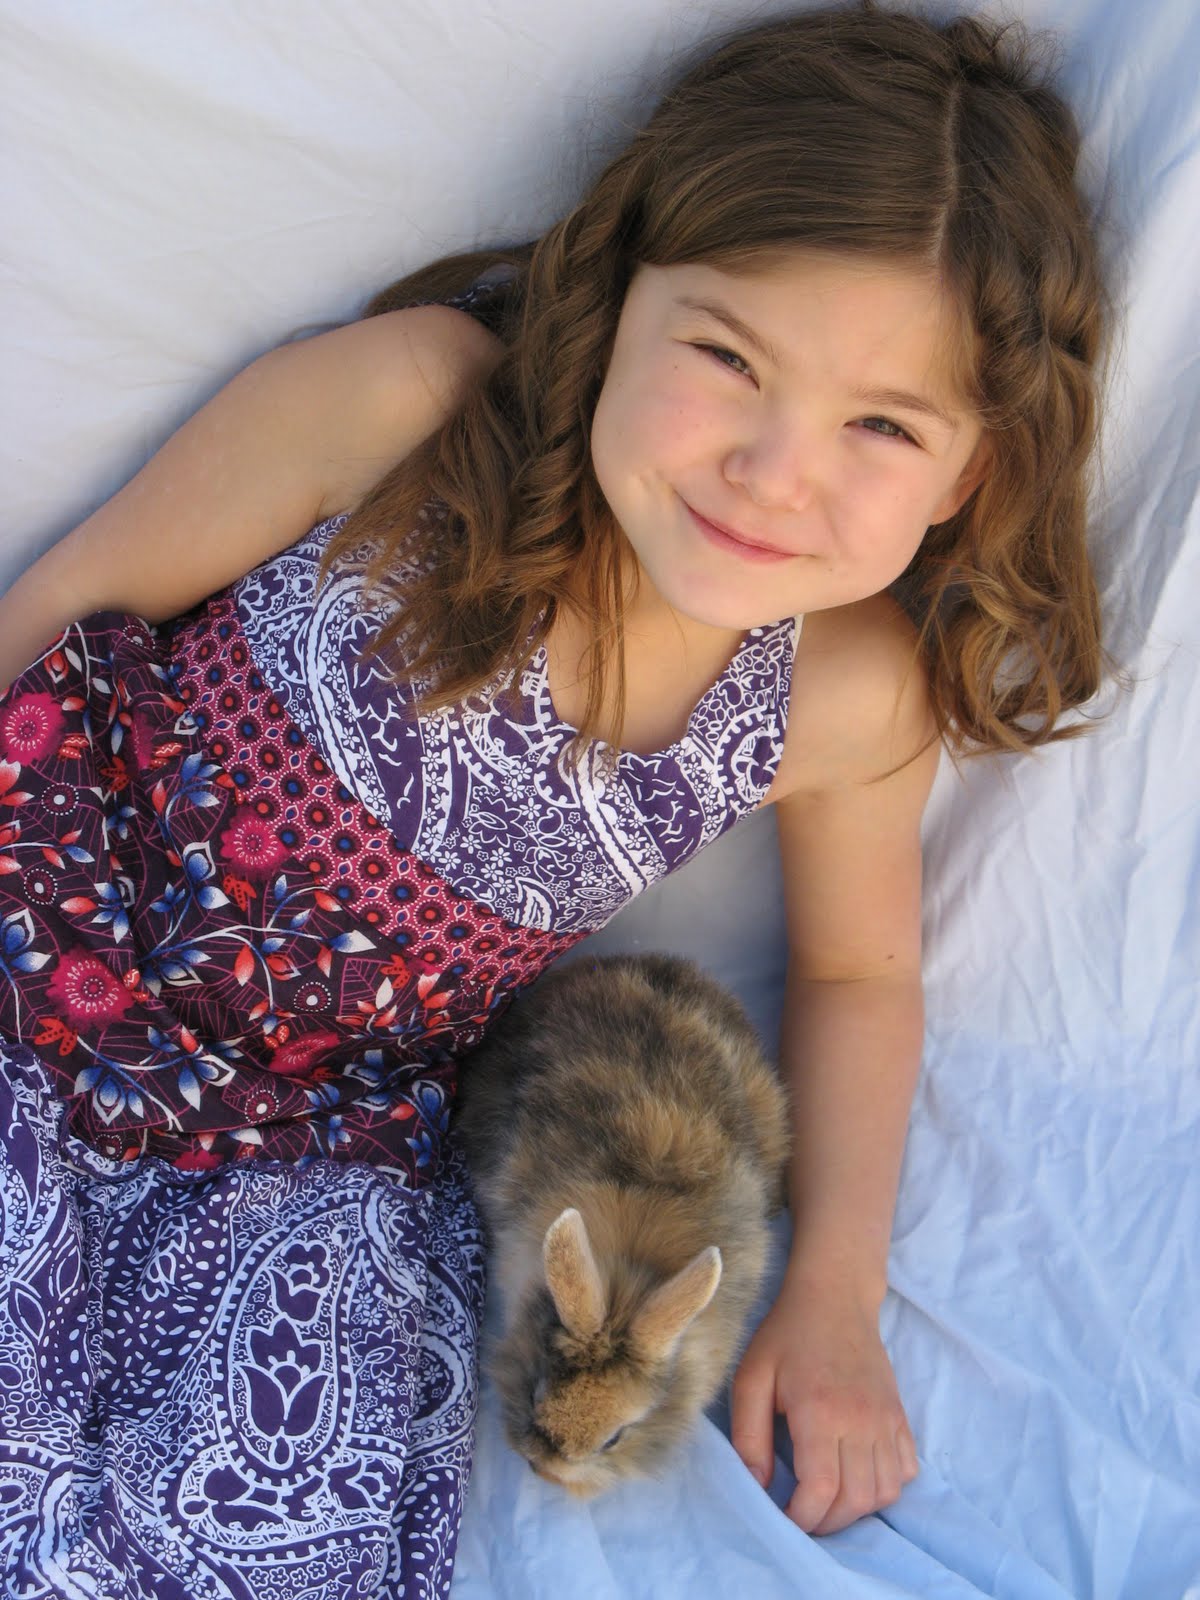
I mentioned to my friend that I wished I could borrow her new bunny to take to the studio when I get my kids pictures taken. She suggested I just take the pictures myself. So that's just what I did!
I love how this one shows the difference in size between the 2 of them! There isn't much that's green yet in my yard for the background, that's why I stood looking down on them for the picture to get the grass as the background. A sheet on the ground protected their Easter clothes from grass stains.

I knew that for the proper lighting, I should take the pictures while the light was soft in the morning, or in the late afternoon, when the sun is heading down. I took the pictures too late n the day, so some really great ones suffered from too much light and were bleached out.


But I was still able to get several pictures that I love.


Now moving on to dying eggs. My son was only a couple months old last Easter, so this is all new to him. He was positively AMAZED when we dropped an egg into the cup of dye. He stared into it until we lifted it out, now a whole new color!


My daughter liked that this egg came out dyed differently than she expected it to.


We did egg dying on the nook. I like taking pictures here, because my daughter can be on the other side and higher than I am. Plus, there is a light directly above us, so the flash isn't always needed.


Here are her precious dyed hands and our year egg. This year, we bought 36 eggs to dye. We can never eat that many hard boiled eggs, so I only boiled some of them. Leading up to Easter, if we needed to use an egg, I emptied it by poking a dime sized hole in the bottom of it. When we died these hollow eggs, we just had to take extra care to fill it with the dyed water when dying it, so that it wouldn't float. Taking it out was also tricky as we didn't want to dump the dye from the hole outside of the cup. We also used eggs that had been neither emptied nor boiled! We were careful with handling them and didn't break a one! We also made sure to keep them seperate. They worked just fine.


The Easter egg hunt: When concealing eggs, I sometimes hid them in a way that my girl would be walking towards me, finding the eggs in one plant after another so that I can be sure to catch her finding one. Knowing where they are hidden is an advantage, too. It is such a challenge to get good pictures of the kids hunting for eggs because they move so fast!


What a sweetheart! She was so happy to find Razzle candy/gum in her egg.


"OH!" So there's something in these things!"


On Easter Sunday, I let my little man eat his chocolate bunny in his good clothes! Look how serious he is! He ate almost the whole thing in one sitting and freaked out when we cut him off!


And then this is my loving daughter, wanting me to take her picture with her white chocolate cross. How could I refuse?


Saturday, March 27, 2010

Camera Shy

There comes an age where your child gets tired of mugging for the camera, and starts to avoid it. We are testing the waters of this age right now. It depends on the day or time, just as when I offer food. Sometimes she likes it, and sometimes she won't even try it. I am talking of the same food. It can vary that much from day to day. This is the way it is with pictures. I pull out the camera and hold my breath a little. "Will today be a day that she'll let me take a picture?" Someday, I can see myself explaining to her why there are more pictures of her brother than of her when she was 7. He doesn't mind the camera yet! Until this phase passes, and I'm sure it will, I will content myself with the photos that I can get. The little glimpses into life as a 7 year old. Without pictures, I'll be sure to journal in her album of this time. I'll tell her how thankful I am that I can trust her to play nicely with her baby brother so that I can get a shower or make dinner. I'll remind her of the girl who won't play in her room when it's clean because she doesn't want it to get messy again. My collecter who hoards TV tickets for a week and then uses them all in one day. A little lady who gives herself a shower and brushes her own hair, and smooths the bumps out with water because she wants to look her best. My grown up daughter who made heart cookies in her Easy Bake Oven all by herself after breakfast. Lastly, a beautiful little girl who still picks a huge handful of daffodils for her mama.
Scrap Happy!

Monday, March 08, 2010

Celebrating one!


Celebrating one for me means my little boy's birthday! All year, I took his picture once a month in his crib. I made sure to have the same sheet on the bed, and put his little beanie baby next to him. It really helps to show how much he grew in a year! (photo above)
I also had his picture taken once a month and ordered wallets of his professional photos. (as well as the 4 months I took his monthday pictures myself) I knew I wanted to do some kind of page layout that showcased all of his months. Here is the finished product. It's amazing how much they change in one year, isn't it?! (below) I was rusty from only scrapbooking digitally, but once I did a page or two, I was back! It was fun doing these page layouts for my son's birthday photos.

It's my party and I'll cry if I want to!
This one is so fun! The photographer made him mad when she put his hand in the icing and then put it to his mouth, She was frozen when he started crying, but I yelled, "Take a picture! Take a picture!" Above was the result. I used a 8x10 paper for the mat/background and used just a few party embellishments. I really wanted the title to stand out, so I used white letters and went around each one with a pen. I cut out the paper from beind the photo, since you won't see it anyway, and punched out squares to finish off the page.


Birthday Boy
This page is very much like a page I could do online in a digital album. I love it because it's crisp and clean. All I used were letter stickers of various sizes and a paper background. I just layered the "Birthday" on top of the lighter colored "Boy" letters.


One
I love this page, too! It's so simple. A simple yellow background matched the yellow in his shirt. I used 2 sizes of circle punches to make the open circles and put letter stickers inside. There is one cupcake sticker under the O. This page changed as I designed it, as so often happens. I like the way the word "one" is here because it goes with the jersey look of the shirt he's wearing. This just shows you that you don't need a whole lot to make a page. You just want it to all go together. The less you put on a page, the more likely it is that that will happen.


Happy Birthday puzzle.
This page was born out of my desire to mat these pictures in blue. However, I don't have any more blue paper, so I used the green and kind of made a puzzle mat. That's when I realized that I had a puzzle punch that I had never used! When using a new punch, know that the first couple of punches will have oil on the edges. Do some practice punches that you can toss. Once again, all I have on this page is a small amount of paper, some letter stickers and one party diecut. I want everyone to notice the photos, another reason to keep it simple.
Just for fun: I put a number one or the word one on each page of my son's birthday pages. I started doing this for my daughter a few years ago, and she and others who look at the album, really have fun looking for the birthday numbers.
I'm currently working on my daughter's album when I can sneak away for a few minutes. I am enjoying scrapbooking and trying not to get caught up on the fact that I am so far behind. It's a hobby for crying out loud! If I was all caught up, what would I do with my time? Ha Ha! That's a joke, I always have at least one event being planned, project ideas I want to try, and a room or 2 that need cleaned. Not to mention...the laundry!


Scrap Happy!

Monday, February 08, 2010

I normally hate computers, but.....

I am about to tell you why I love digital scrapbooking! Yes, this is me, the one who said that nothing could ever replace the feel of the paper and stickers in my hands. Take my words into consideration, put them in the back of your mind, because you may someday decide to make a digital album, too. The pictures I have chosen today are a bit odd, I admit. However, I took them to use as backgrounds and cut outs for my son's digital album. Everything matches the photos! I love his little clothes, and this is a way for me to still "keep" them digitally, once he outgrows them.
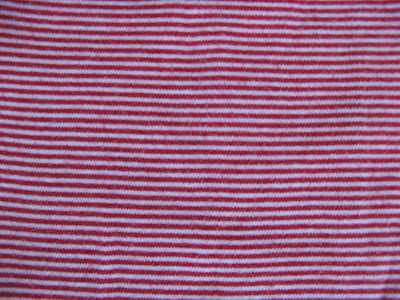
Just imagine these with photos over top of them in a Christmas layout. I can use them as borders, backgrounds, mats, "stickers", really you can do so much more than you can with a traditional album as far as coordinating your embellishments on a page.

Find the bib odd? Well, it looked great as a background for Christmas!
I have to say that when I ordered my son's album yesterday and it was nearly $250. after shipping and tax, I gulped big time! It was a 12x12. Here is a tip, if you do an album, just order an 11x8.5 .It isn't that much smaller, but the price difference is phenomenal! I have always made that size, and now I plan on going back to it. Example, I ordered this size a few weeks ago and it cost me around $150. And the smaller and cheaper size even had 8 more pages in it!
So, I figured out how much I would have spent on a traditional album with nearly the same amount of pages. (You can only fit 80 in a traditional album compared to topping out at 100 in a digital.) The price was considerably lower for a 12x12 album using the original materials, (album, pages, protectors) however I didn't add the price of paper, stickers, adhesives and photo processing. I'm thinking that would have changed things!
So here is where we are with my insane hobby. I am working on my son's first birthday pages in a brand new book. That means I'm one month behind for him. He has 2 digital albums already ordered and a 12x12 traditional album with his professional pictures and little mementos (like hair clippings) in it. This album is 52 pages. Sadly, in my daughter's album, I am working on her birthday, which is in May. I went to a scrapbooking night and was only able to do maybe 2 pages because I have gotten so used to working with the digital albums that I found it hard to do the traditional! Uh OH! Have no fear, I'm not giving traditional scrapbooking up! It is completely different, so it's a challenge. But I like a challenge!
Scrap Happy!